The final choose of note:Obsidian + Self-hosted LiveSync
As the title is not so accurate, it should say that almost all notes are written in Obsidian, but some note that need handwritten still being written by OneNote, after all Obsidian doesn't official support handwritten.
And the difficulty to use Self-hosted LiveSync is to set up the HTTPS(needs domain name), without which mobile devices may not able to sync. Luckily, with (free version) taiscale, we do not need to buy a domain name or have a public IP!
Warning
Sync ≠ Backup! Even using this for synchronisation requires adequate backup!
Set up Self-hosted LiveSync
Refer to the ducument of the plugin,find a place where current user has write/read access, and palce the files in below format:
obsidian-livesync
├── docker-compose.yml
└── local.ini
After copy the things from ducument, use docker-compose up -dto start. Hrer I chose to deploy on my Raspberry Pi(you can choose any device that can run Linux). Visit http://raspberrypi:5984/_utils, enter the username and passwd you set in docker-compose.yml, click the top right cornor to create a database, here I create a database notes.
Tips
Here ‘raspberrypi’ is the short domain name corresponding to the Raspberry Pi VLAN ip assigned in my tailscale, please replace it with the ip of the device you deployed.
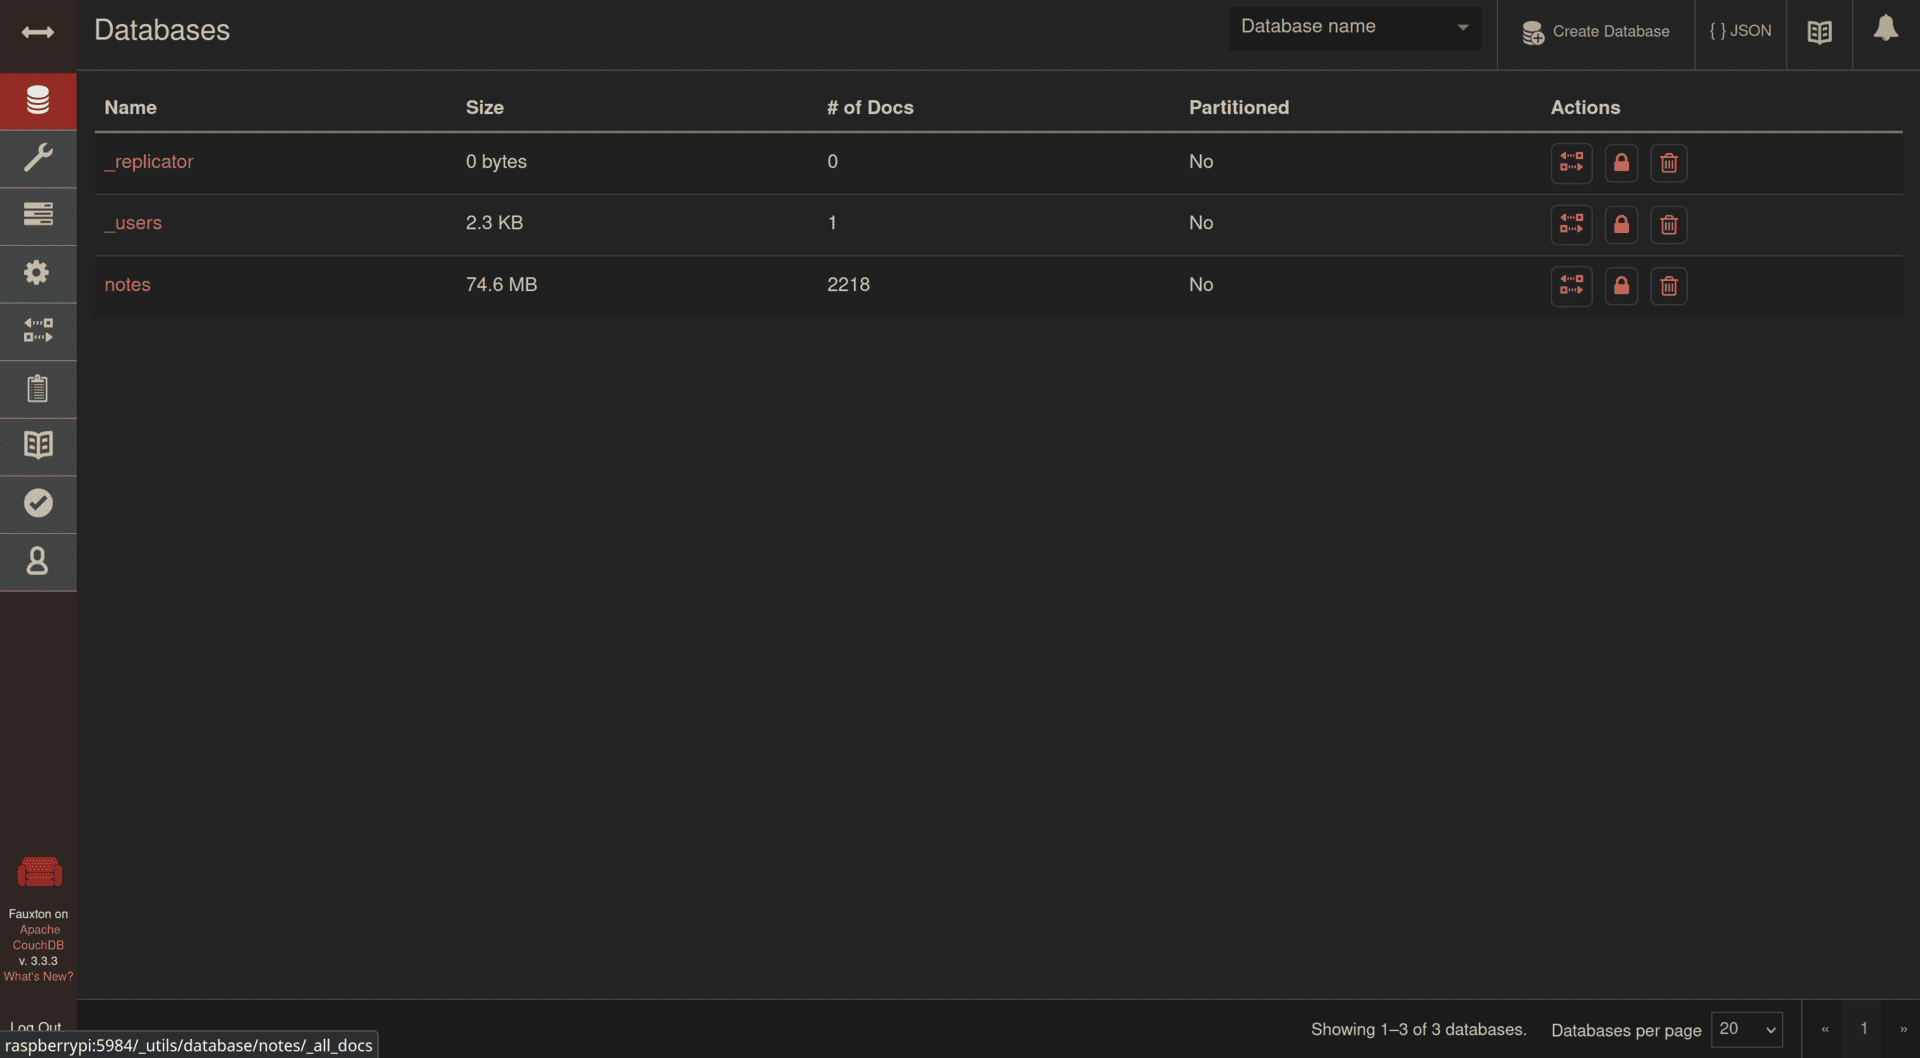
Test
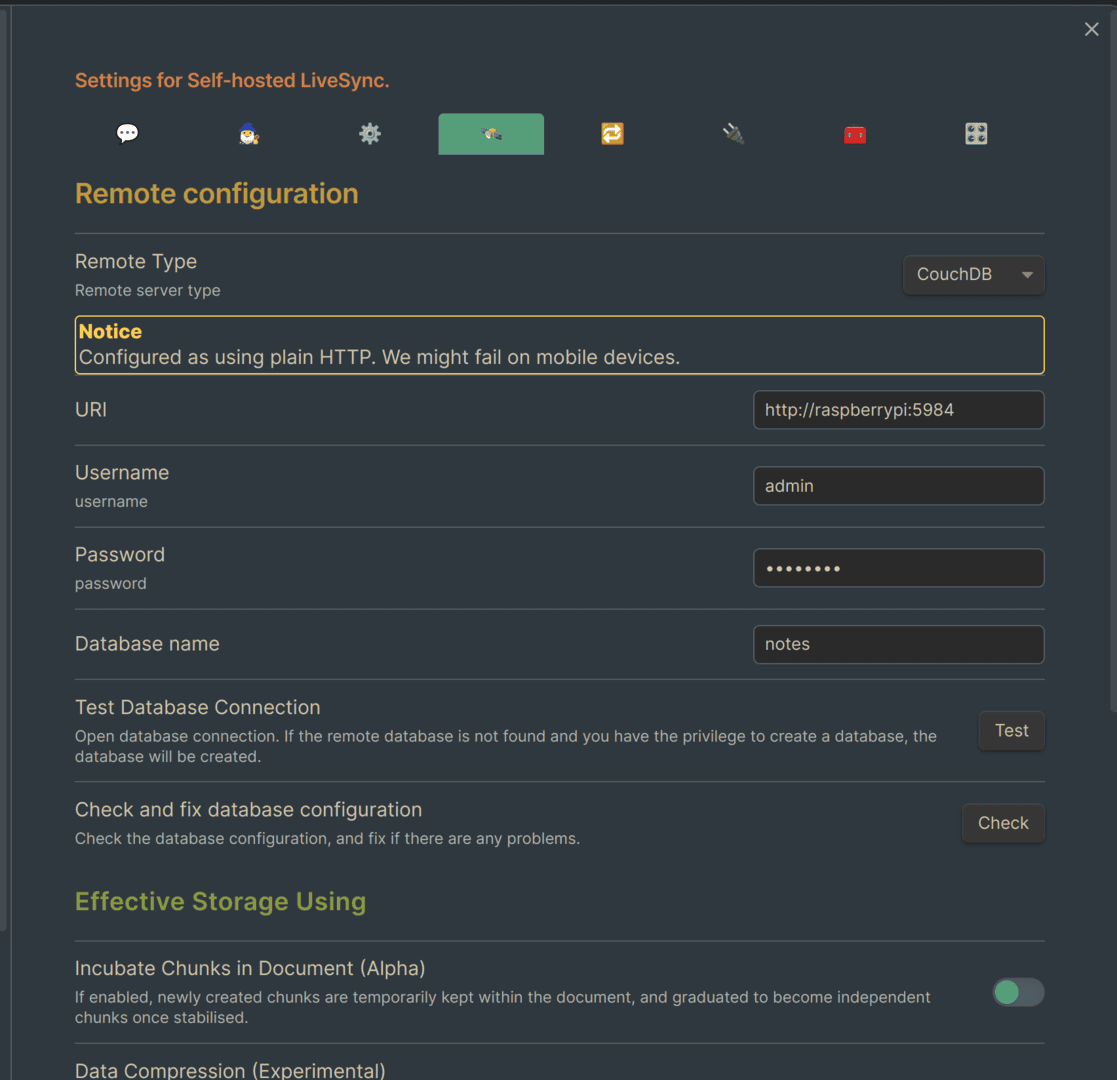
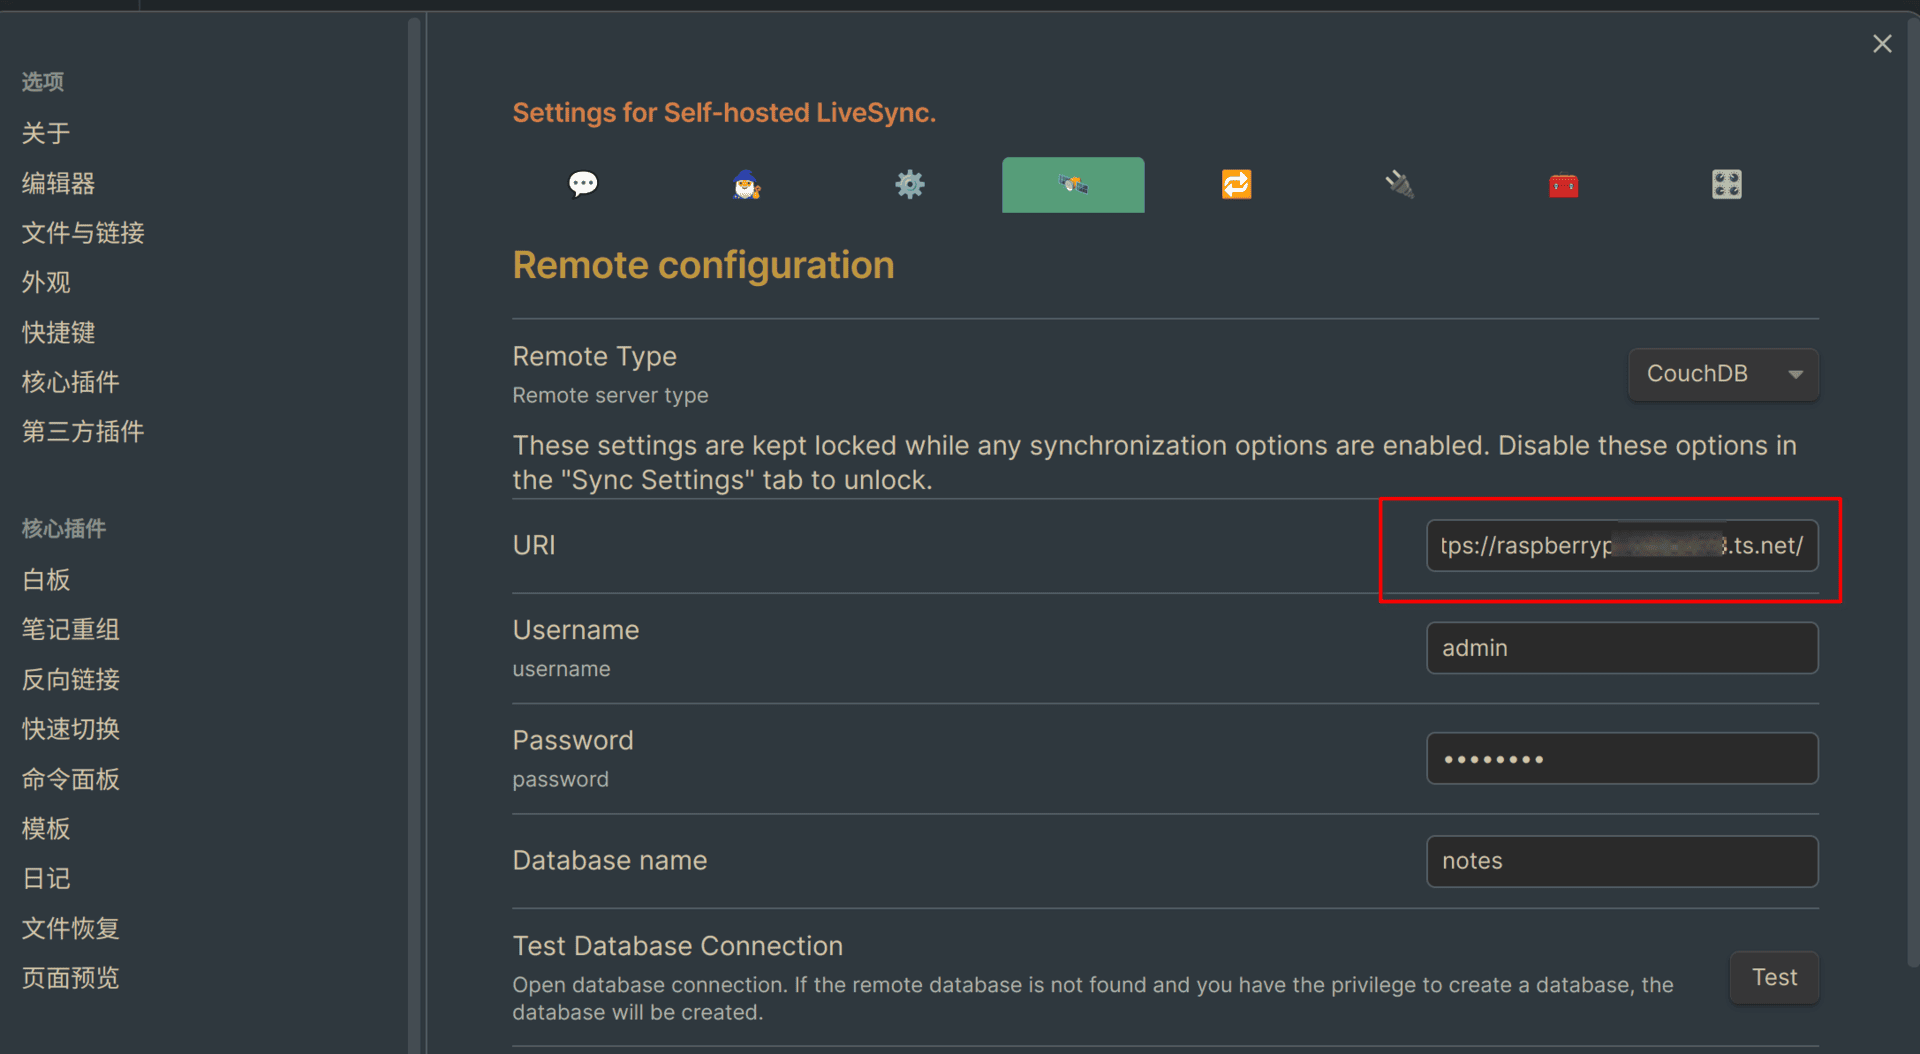
Ok, before add the HTTPS, we should test it is working or ont. Install plugin Self-hosted LiveSync, set the database address userrname passwd ...:
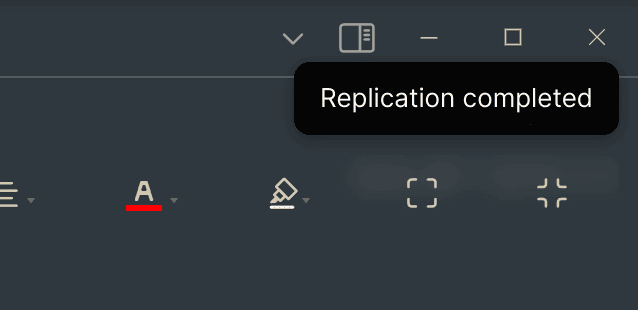
Subsequently set up a real-time sync and see, considering that there are a lot of tutorials on this plugin I won't elaborate:
Set up HTTPS
First, you need to havetailscale in all your devices, just register and install with free plan version.
Then go to the web console of taisclae, find DNS->HTTPS Certificates, trun it on. We then need to use Caddy to reverse-substitute the local database's to the registered domain name provided by taiscale. The good news is that Caddy supports automatically adding HTTPS to taiscale-provided domains, so the whole process is made easy.
Install Caddy, and as I'm using Debian, need to edit /etc/default/tailscaled, add one line:
TS_PERMIT_CERT_UID=caddyto make Caddy have access to the certificate, finally edit /etc/caddy/Caddyfile:
machine-name.domain-alias.ts.net {
        reverse_proxy localhost:5984
}
Note that machine-name.domain-alias.ts.net is replaced with the address of the domain given to you by taiscale. Then just reload it using sudo systemctl reload caddy.
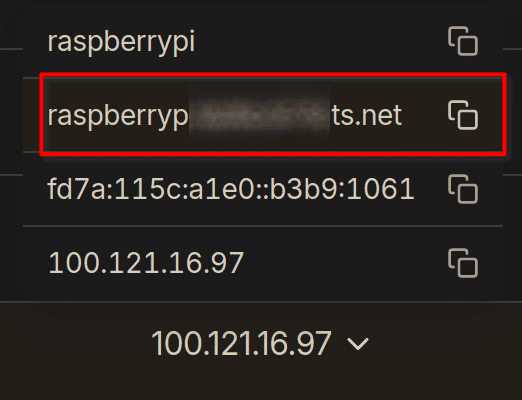
Then return to Obsidian, replace it with https address.
The synchronisation established in this way is quite fast, refer to this video: